From an empty wall to finished wainscoting.
Measure carefully, plan equal panels, and fit the details one piece at a time. These four guides follow the same applied rails-and-stiles system as the planner.
Start with measuring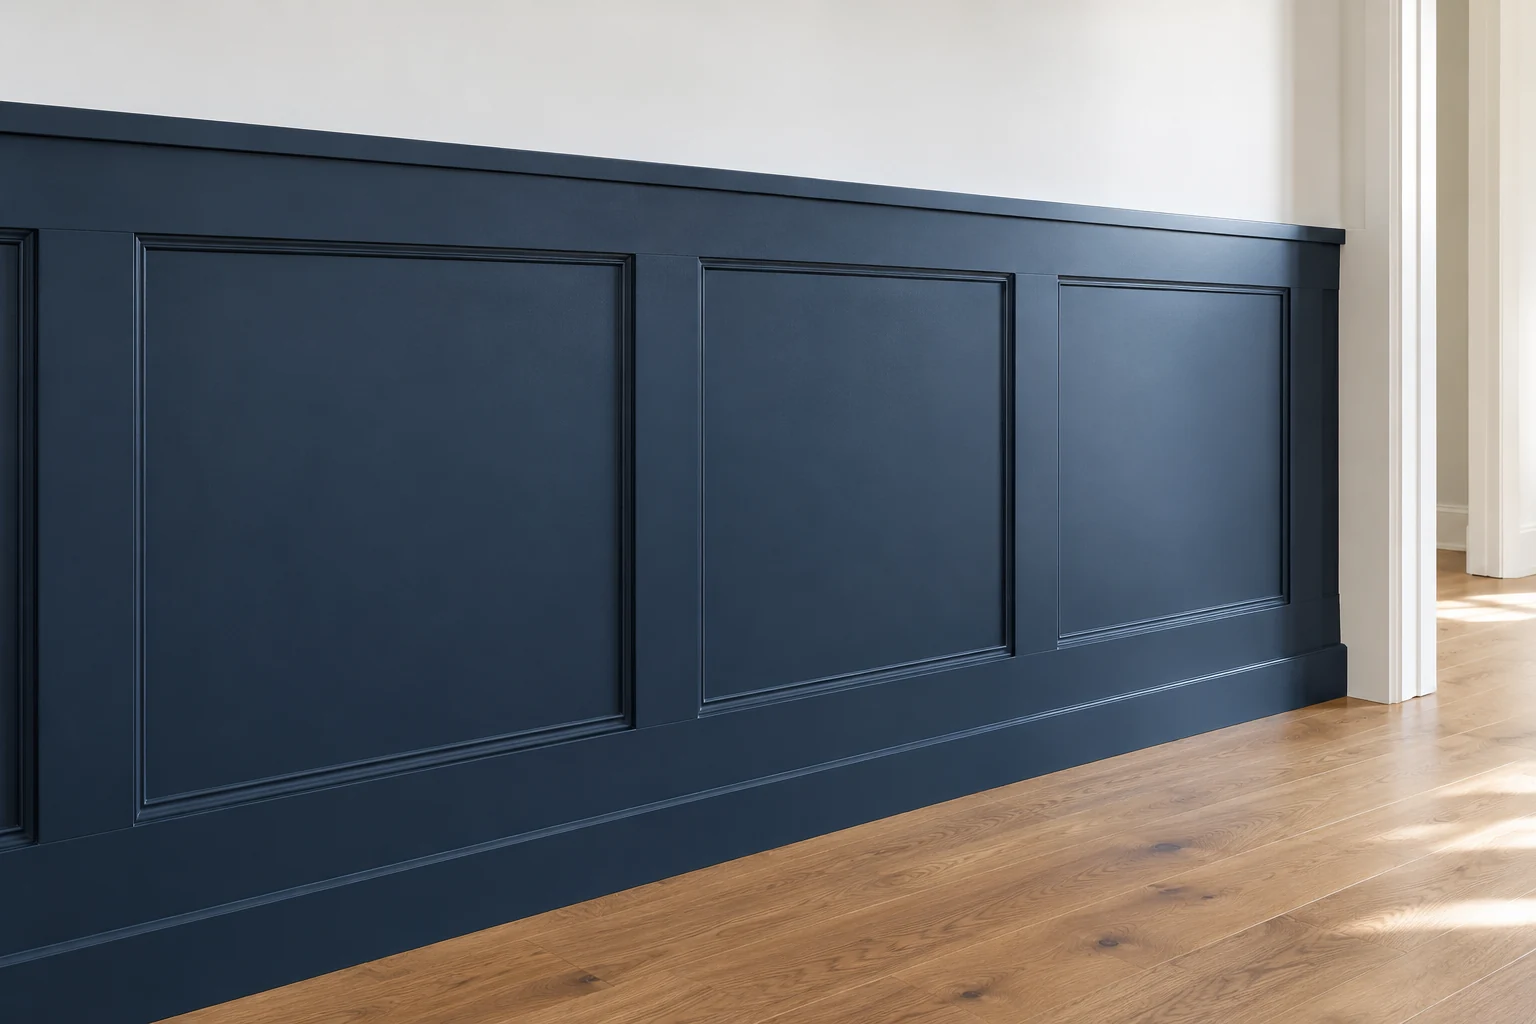
FOUR STAGES. READ IN ORDER, OR GO STRAIGHT TO THE PART YOU NEED.
Measure your wall
Get reliable dimensions, choose a level top line, record openings, and understand how equal panels fit your wall.
Wall width · finished height · openings · equal spacingChoose your materials
Understand the parts, use actual board sizes, choose stock you can transport, and read quantities without double-counting waste.
Rails & stiles · actual sizes · backing · stock & wasteMake confident cuts
Use the cutting map, measure mitered molding at its long points, and fit corners before cutting a whole batch.
Cut IDs · kerf · miters · joints · scribingInstall & finish
Work from a level reference, fit rails and stiles, add the molding, and finish the joints in a practical order.
Prepare · backing · rails · stiles · molding · finishRails are horizontal. Stiles are vertical.
The board faces define your panel openings. Small molding adds detail inside each opening; a chair rail can finish the top. Start with the basic grid and check its proportions with tape before adding trim.
Use the planner to resolve spacing, see every cut and build a material list. Your current dimensions stay in this browser tab while you read the guides.
Return to your wall planThe applied flat-board method modeled by this planner.
Working with a beadboard kit, tongue-and-groove planking or a proprietary panel system? Follow that product’s instructions; its joinery and movement allowances can differ.